Here are my scanning/editing methods and reasoning. Different people have different philosophies, priorities, etc., so take them for whatever you think that they're worth. Hopefully I'm clear in my explanations, but if you have any questions, feel free to ask. (I don't often look at the boards here, so if I don't reply send me a PM or e-mail.)
A couple of notes before I begin. I use Photoshop for editing, so things I say regarding that may be different or unavailable in other programs. GIMP should be pretty close and free. (
https://www.gimp.org/) I have it on my laptop, but have hardly used it, so I can't really speak on the differences. Also, I use VueScan for my scanning software. (
https://www.hamrick.com/) It works with pretty much any scanner and allows you a lot of control over the scan. Often much more than the software that came with the scanner. I HIGHLY recommend it. (End of commercial.)
1) ResolutionTypically I scan books at 400dpi. Some books I do at 600, but I'll explain that in a moment. Why 400? For one, I think that there is a noticeable difference in clarity between 300 and 400, particularly with more detailed art. 300 is considered the minimum acceptable for printing, and by scanning at 400, that gives a little more than just the minimum. Also, with modern scanners, there really isn't any difference between scanning speed at 300 and 400, so I figure why not do the better resolution? I look at my scanning as digital preservation of the book for the future and treat every book and scan as though it were going to be reprinted someday.
So, regarding 600dpi scans. I do these in only a few situations. One is hyper-detailed art, such as Lou Fine, Will Eisner, Mac Raboy, or their lookalikes. More often though, I do it when I don't want to have to rescan the book in the future. Future-proof it in other words. Examples of this would be rare books that I don't want to damage, or really brittle books that may not survive multiple trips to the scanner. 600dpi is considered the optimal resolution for printing. It's the professional resolution, and laser printer resolution. I highly doubt that there will come a day when more than 600 will be required, so I consider it a "final scan" quality. I don't do this for every scan because it is considerably slower.
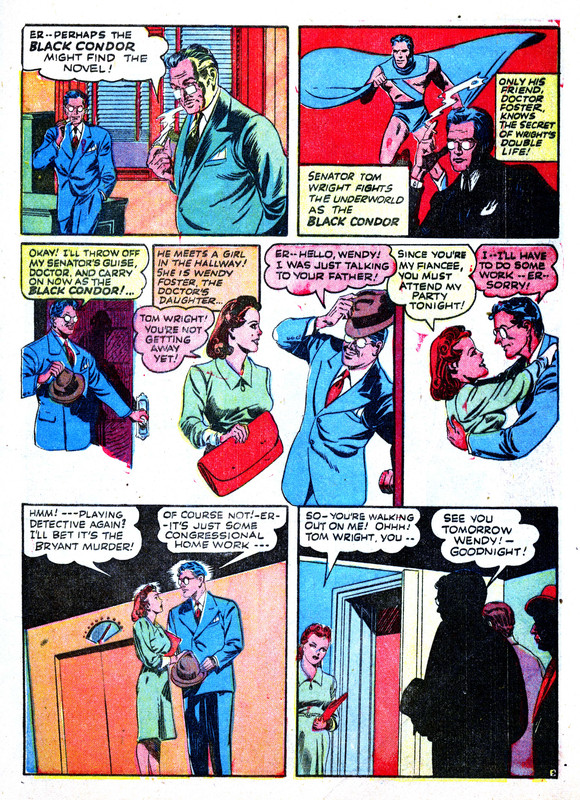
For the rest of this post let's use Crack Comics #29 as an example book since I just did that one a few days ago. (At the time of this writing, I still haven't edited and posted it yet, so don't worry if you can't find it.) I scanned that one at 600, because it's an early Quality book where Lou Fine's work was still the "house style" even though he didn't work on this issue. I also made sure to scan the full page, not just the image portion. That will segue into the next point...
2) Raw files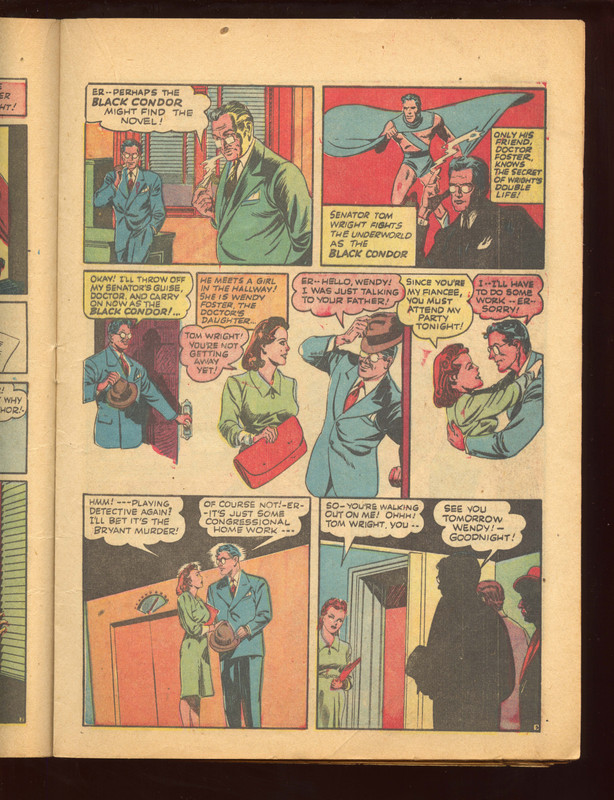
Always save your raw, uncropped, unedited files. You never know when or why you may need to come back to them. Some people say TIF files are what you should save raws as, and they are indeed best. They're lossless, meaning no loss in quality in editing and re-saving. However, they're also much larger in file size than JPGs. JPGs are lossy, meaning they loose quality when resaving, even if you save at maximum quality. For myself, the loss at maximum quality is unnoticeable, so I save my raws as maximum quality JPGs. However, I do not ever do any editing to a raw file and then re-save it as the raw. I always save a copy in a different folder.
So, say I just scanned the example book. I would save it in a folder, "Crack Comics 29." Once I had the book fully scanned, I would create a sub-folder that I called "Master" (for master files, but you could call it "RAW," or "Fred," or whatever you want). I would copy all of the scans in the Master folder and those would become my raws. I would do all of my editing on the files in the parent folder and leave the copies in the Master folder alone.
Now, let's say I made a mistake editing a page. I've already saved and closed the file so I can't simply "undo." I would go to the raw folder, get the unedited version of that page, copy it, and paste it back into the parent Crack Comics 29 folder. I could then re-edit the page without having to scan it again or lose any quality through multiple file saves.
3) EditingThe first step in editing will be straightening and cropping. Photoshop has a straightening tool under Filter>Lens Correction where you can click and drag a line across the image to straighten it. I like to use the panel borders on the right side or the top as guides, but often the artist didn't do perfectly squared lines and corners, so straightening is a lot of eyeballing and seeing what looks best. Cropping is similar. I like to leave a little gutter space around the image and not make it too tight. (I used to do tight crops, but that's another story.) I also don't want too much empty gutter space outside the artwork either. Again, it is subjective.
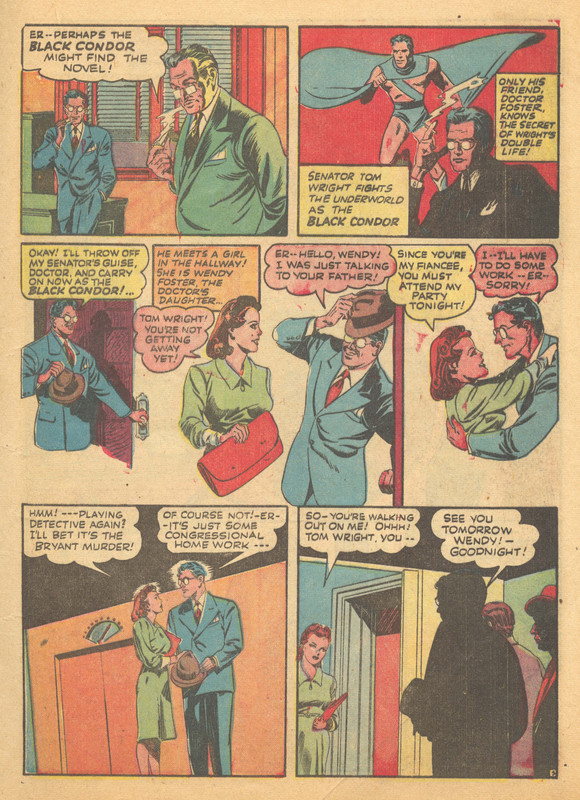
That brings us to the most subjective part of the process, and what you do here depends on what you envision people doing with your scans. If it's just reading, you might want to do color correction. If so, different people have different standards for what they think is aesthetically pleasing. Some like white paper, some prefer the natural yellowing of time. That is really your call. There is no right or wrong answer. It depends on the person. However, I would urge caution to avoid over-editing. Too much work and your pages can look washed out or overly saturated. There is a sweet spot where you can get the image looking right according to your taste, but not lose too much detail.
This is an example of that sweet spot:
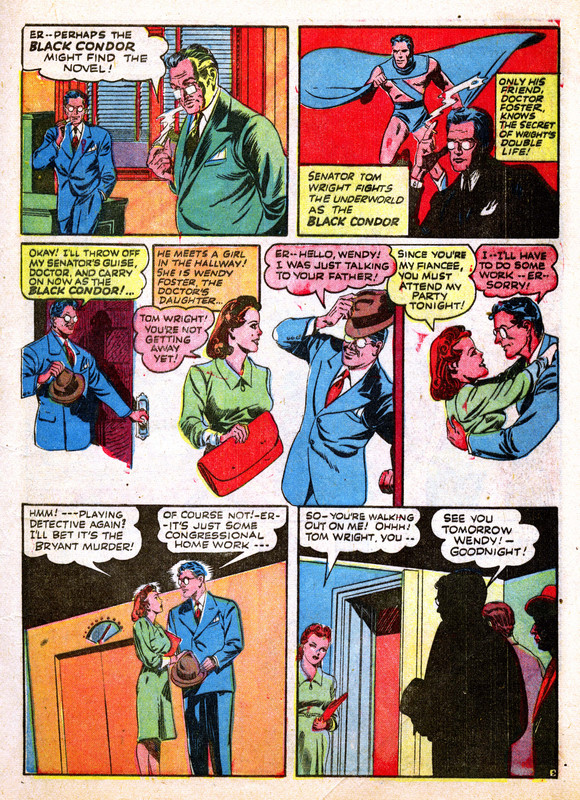
This would be an example of too much editing where color detail begins to deteriorate:
For myself, I like to share my books in raw form. This allows whoever downloads them to fit them to their needs without my own edits getting in the way. That said, I recently switched to a new A3 scanner to be able to do larger, 2 page scans. This new scanner is great, but lacks the color accuracy of the Epson V550 that I have been using, and used to scan the example book. With my new scanner, which I bought used and is older, I have to increase the vibrancy and saturation to make the scan match the look of the physical book. I also think it is a little softer than my Epson, so I've started sharpening my scans a little too. Otherwise, they're unedited.
4) CompressionNow we're back to the technical part of the scanning process. Any scan is going to be a pretty decent file size saved in maximum quality. You will want to compress the JPGs to make the final files reasonable size. Some people also resize the image at this point. Personally, I leave the pages the size they were scanned at unless they were done at 600dpi. Then, I reduce them to 400, but I save the 600 edits separately so that I can come back to them later if needed. I would caution against resizing the page because it defeats the purpose of having a print quality image. However, if you really feel you must, I wouldn't make it any smaller than 1400 pixels wide. That's mostly personal preference, but if I have a book in my collection and see that it has already been scanned by someone else, but is smaller than 1400, I tend to mark it as a book I will rescan in the future. I don't mean that to be a degradation of, or negative comment on anyone else's work, I always appreciate anyone taking their time to scan their books and make them available at any size. I just like print-quality scans to be available if possible.
So, back to compression. Once I finish my editing in Photoshop, I use "Save for Web" to compress my final JPG files for posting. I use medium quality (40) and "optimized." I find that that gives me a good looking image that is not too large in file size, and without noticeable degradation.
Hopefully that gives you some guidance and is what you're looking for. Like I said though, if you have any questions, feel free to ask.
-Eric
 Author
Topic: Scanning in the 2020s - Feedback (Read 2791 times)
